Integrate Emerge Snapshots for Android with Github Actions
Emerge's Snapshots product allows mobile teams to confidently ship UI changes in their app and be notified of regressions before they make it to production — without maintaining any extra test suites or code — by re-using the same Previews you write in Android Studio for regular feature development.
This guide shows how to get started with Emerge's Snapshots Testing for Android using Github and Github Actions so you can easily and visually see the changes you are making to your app's UI.

Integration Steps
-
Create free account at emergetools.com
-
-
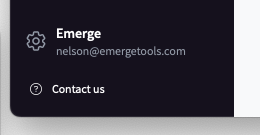
Go to your Emerge profile by clicking your email in the bottom left corner of the sidebar on emergetools.com.
-
Add the Emerge App your Github repository by clicking
ConnectunderGitHub Connection.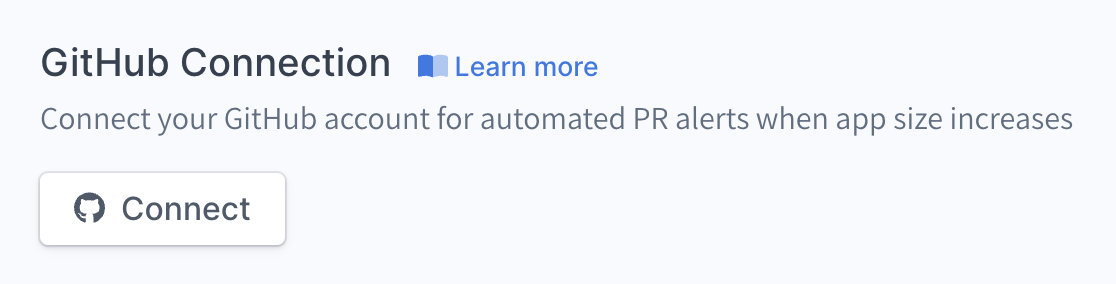
More details on configuring the GitHub app and for GitHub enterprise.
-
Create an Emerge API key by clicking the
Generate API Keybutton in the Organization Settings section of your Emerge profile. -
Add
EMERGE_API_TOKENas a Repository Secret to your Github repository in the repo setting.
https://github.com/<your-org>/<your-repo>/settings/secrets/actions
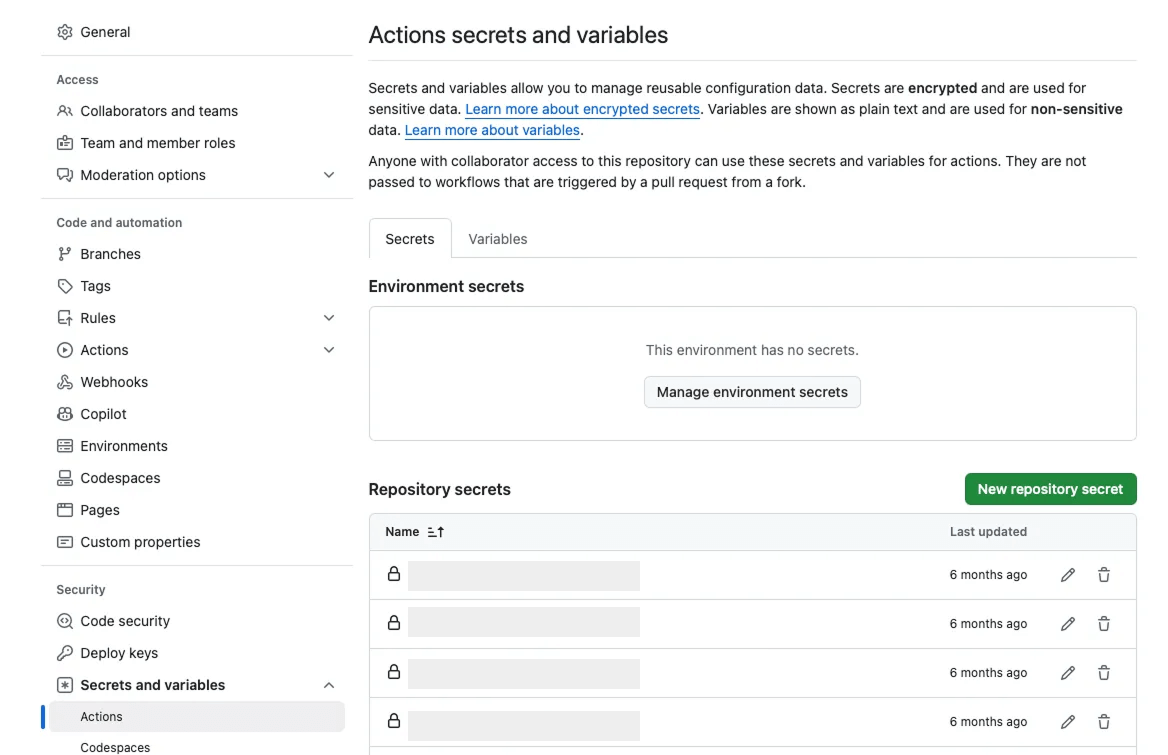
https://github.com/<your-org>/<your-repo>/settings/secrets/actions -
-
Apply the Emerge Gradle Plugin to the
pluginsblock of your application module'sbuild.gradle(.kts)file:plugins { id("com.emergetools.android") version "x.y.z" }plugins { id 'com.emergetools.android' version 'x.y.z' }Latest Emerge Android Gradle Plugin
For more information on the Emerge Gradle Plugin, see our our documentation.
-
Add the Emerge Snapshots Library to your androidTestImplementation dependencies.
dependencies {
  androidTestImplementation("com.emergetools.snapshots:snapshots:x.y.z")
}
dependencies { androidTestImplementation('com.emergetools.snapshots:snapshots:x.y.z') }Latest Emerge Snapshots Library version:

-
Execute the
emergeUploadSnapshotBundleDebugtask with theEMERGE_API_TOKENenvironment variable in your Github Actions workflow in order to run the task on both PR builds and master builds.Configure your workflow to execute this task with the
pushtrigger for yourbasebranch and thepull_requesttrigger for your pull request. Here is a full examplename: Upload Emerge Snapshot Bundle run: ./gradlew emergeUploadSnapshotBundleDebug env: EMERGE_API_TOKEN: ${{ secrets.EMERGE_API_TOKEN }} -
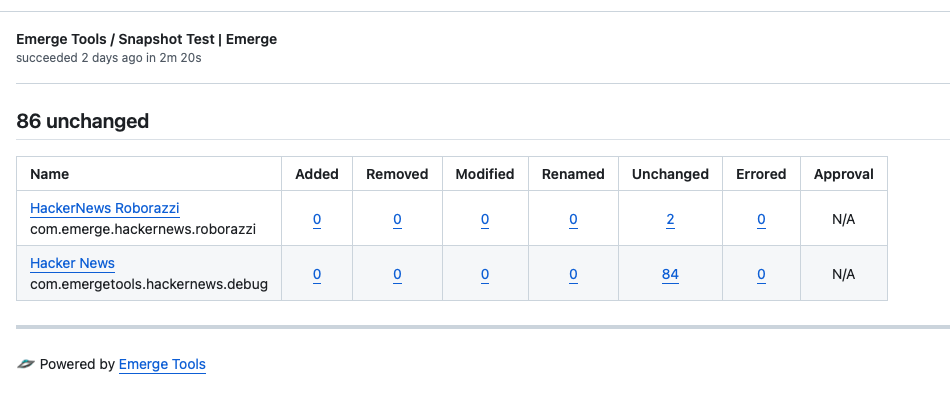
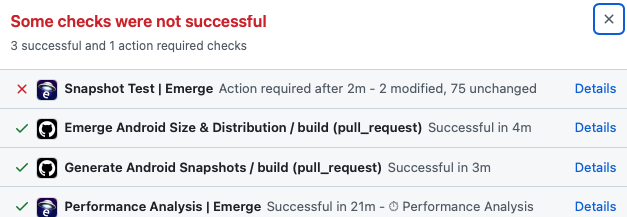
Submit those changes as a pull request. The pull request will run a check that creates snapshots. Click on the
Checkstab in the GitHub pull requests and click onEmerge ToolsthenSnapshot Test | Emergeand you should see something that looks like the screenshot below. This means you have successfully integrated snapshot testing in your repository. Once the PR is merged to the main branch the automatic checks will start working on all future PRs.

Using Snapshots
Emerge's Snapshots works by finding all the @Preview annotated methods in your project and creating snapshots from them. These functions are called by Emerge Tools on every PR and main branch build in order to generate snapshots. Emerge Tools saves these snapshots on our servers to use for comparison.
Whenever any snapshots are added, removed or modified in a PR relative to the respective base build, you will get a comment on your PR. The comment will show you what has changed and you can click it for further details.

By default, Snapshot modifications will fail a check on the PR like below.
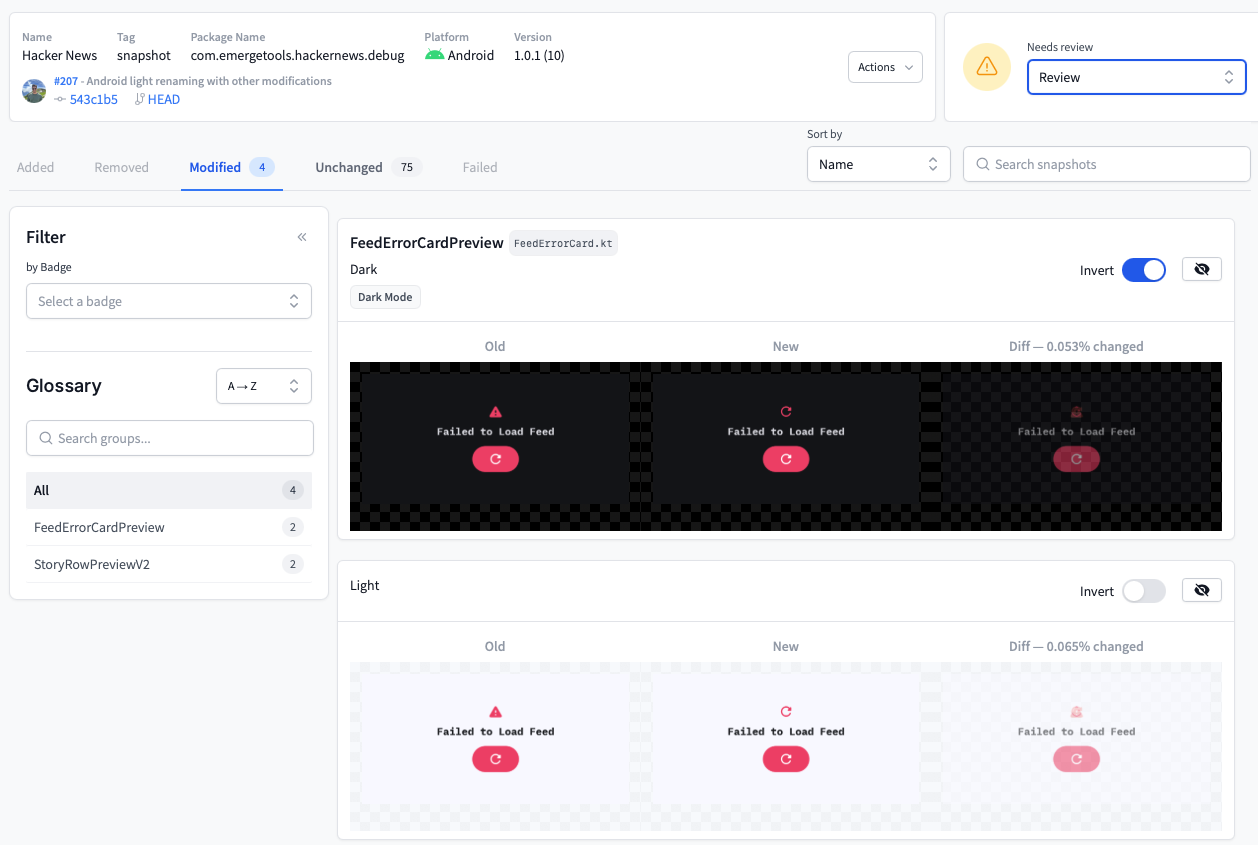
You can click details to understand what changes were made to your snapshots.
If they were accidental, you should fix them in the code. Otherwise, if the changes were intentional, you can set this check to green by clicking details and then approving the changes from within the Emerge Tools UI.
You should be all set with Emerge Snapshot testing to be able to confidently ship UI changes!
For information and for more advanced configuration scenarios click here for our full Android Snapshots documentation. If you need any help, please contact our team.